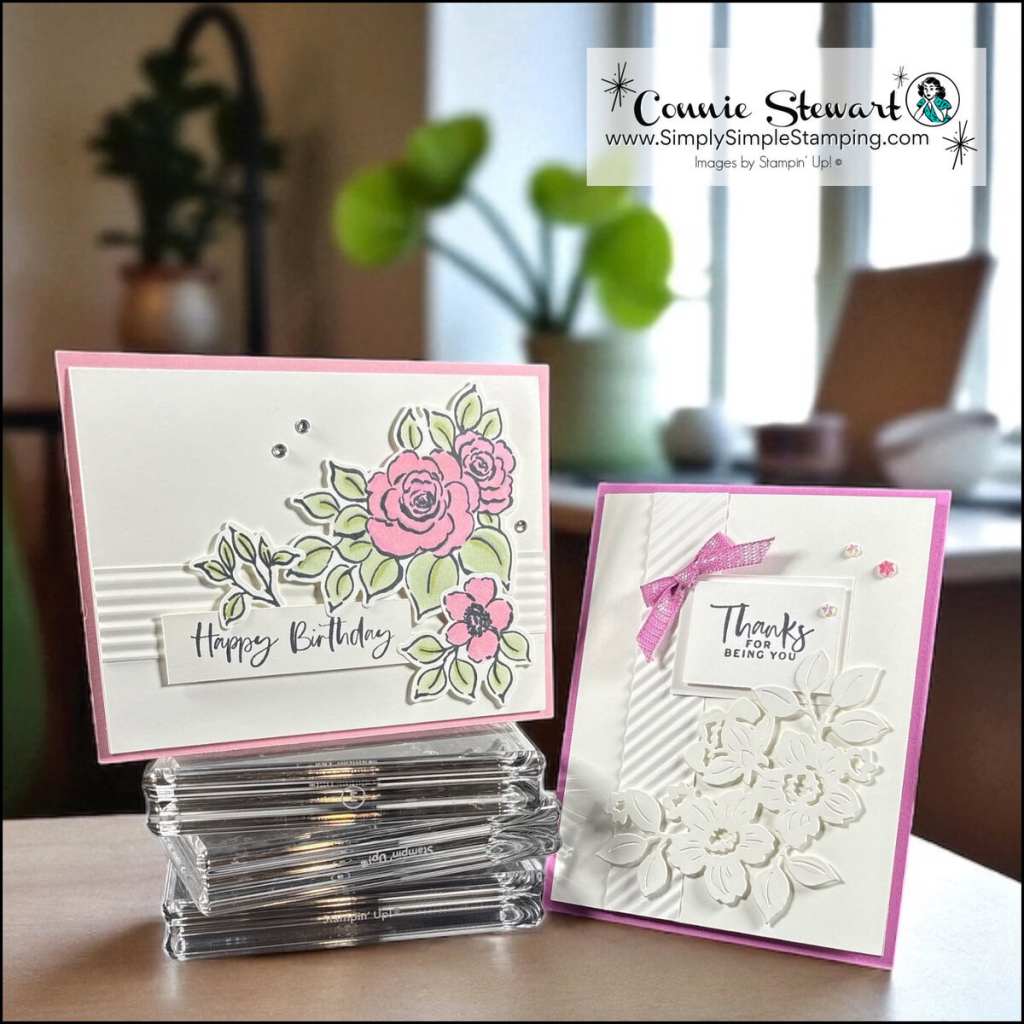
Elegant handmade cards don’t have to be complicated or time-consuming to create! What if I told you that with just one simple tool and a few minutes, you could transform plain white cardstock into something that looks like it came from a fancy boutique?
These gorgeous cards began as basic scraps on my craft table, but watch as embossing folders, a Simply Scored Board, or a little rubbing alcohol work their magic to create sophisticated texture and visual interest. Initially, I used the Mini Corrugated Embossing Folder for this project, but unfortunately, it’s now sold out. Before you panic and abandon all hope of creating these beauties, let’s talk solutions, shall we? You can absolutely substitute any embossing folder you have on hand, OR – and hear me out – grab your Simply Scored Board and create those waves! Revolutionary concept, I know! There are numerous ways to achieve this stunning look, regardless of the supplies you have in your craft stash.

Elegant Handmade Cards Made Easy | Video Tutorial
Grab a tasty beverage, your favorite embossing folder, and some scraps of white cardstock, and follow along with me to create a beautiful card. Stick around until the end of the video to catch my best tips and tricks.

⭐️ What’s your go-to technique for creating elegant handmade cards that look way more complicated than they actually are? I’d love to hear about your favorite shortcuts and creative solutions in the comments below!
Ready to Create these Elegant Cards?
I love creating cards with white-on-white. It’s just so elegant! Of course, those 1″ x 5 ¼” strips can be made with any color of cardstock. Time to get those scraps out and put them to good use. Give these simple layouts a try!
- Basic White:
- 8” x 5 ¼”, score at 4” (card base)
- 4 ½” x 4 ½” (stamped/die cut flowers/leaves)
- 5 ¼” x 1” (textured strip)
- 2 ¾” x ¾” (stamped greeting)
- Pretty in Pink: 4 ¼” x 5 ½” (card layer)
- Basic White:
- 8” x 5 ¼”, score at 4” (card base)
- 4 ¼” x 4 ¼” (die cut flowers/leaves)
- 1” x 5 ¼” (textured strip)
- 2” x 1 ½” (greeting layer)
- 1 ¾” x 1 ¼” (stamped greeting)
- Petunia Pop: 4 ¼” x 5 ½” (card layer)
Don’t forget to print or save the FREE DOWNLOAD for today’s cards!
Stampin’ Up! Product List for Today’s Cards
Click on the picture to add to your cart
Thank you for choosing me to be your Stampin’ Up! Demonstrator!


Spend them on your next Stampin’ Up! order or save them up for a bigger purchase!
Pinterest-ing
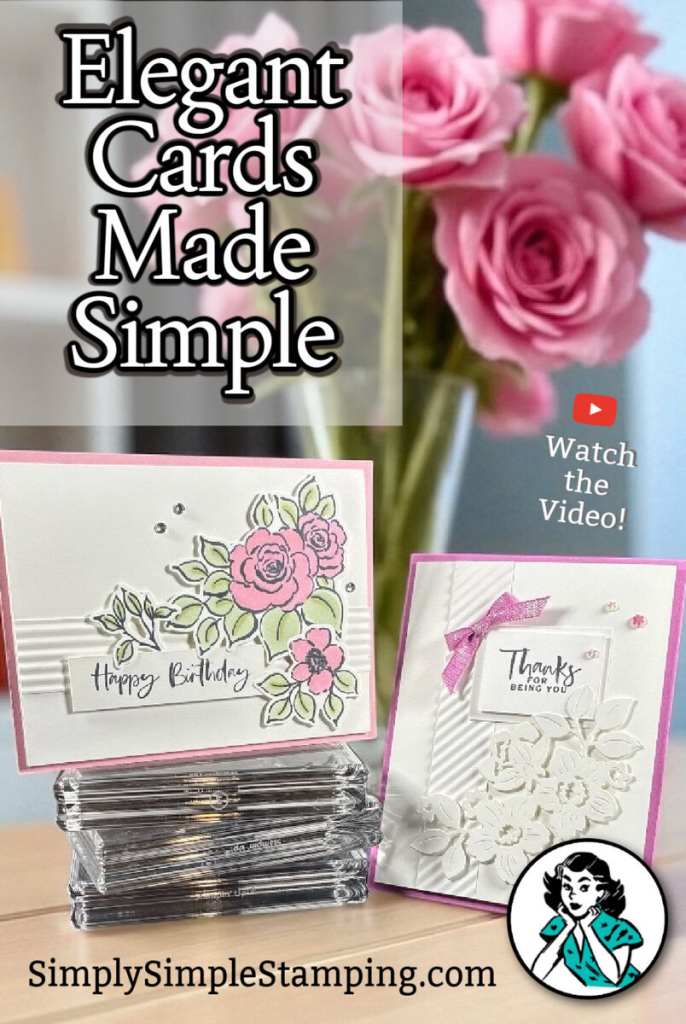
Follow me on Pinterest and save this image to your Card Making Techniques board, as you’ll want to reference these texture tricks again and again. Plus, I’m always sharing new ways to make elegant, handmade cards look effortlessly sophisticated!

Join Me Thursday, August 28, 2025, for a Create with Connie YouTube Live!
9am Pacific * 10am Mountain * 11am Central * 12pm Eastern

Let’s create a fun Circle Pop-Out Card together!
I hope you enjoyed today’s video and you were inspired to think of new ways to use your scraps and adding texture!


