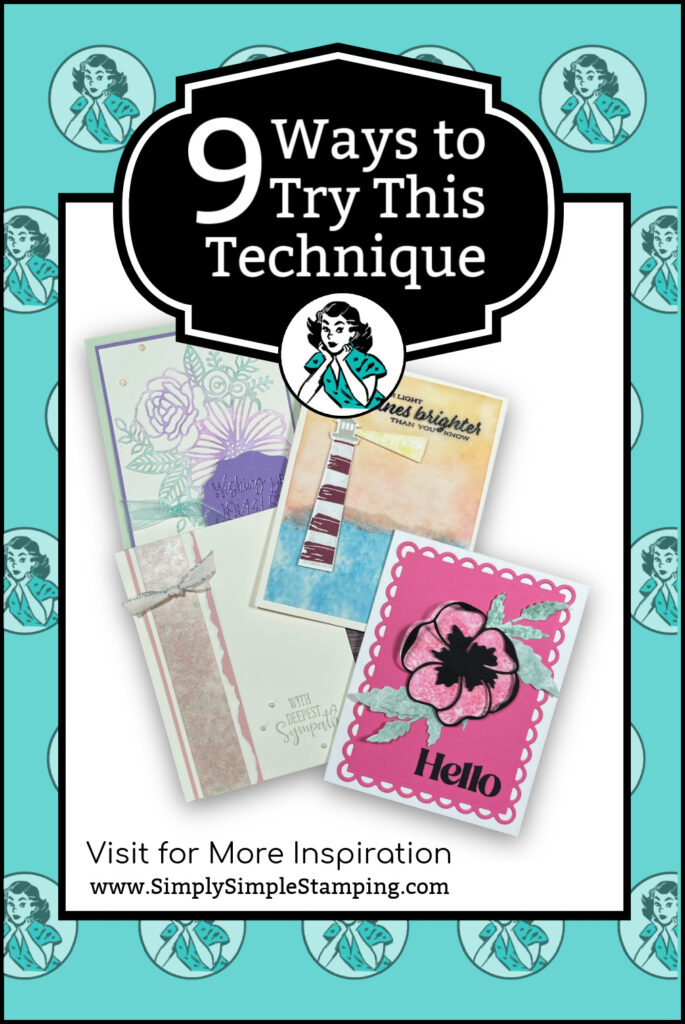
Have you ever wanted to try the polished stone technique? This crafting method allows you to create beautiful cards and projects using re-inkers or ink pads and rubbing alcohol. With this guide, you’ll learn all the basics of the polished stone technique and get nine card-making ideas for inspiration!
What Supplies Are Needed To Achieve Polished Stone Look?
To get started using the polished stone technique, you’ll need a few supplies.
- Isopropyl Alcohol (rubbing alcohol)
- Cotton Balls
- Re-inkers or Ink Pads
- Clear Blocks
As for tools to help with the crafting process, I am going to suggest you have something to protect your table like a silicone mat, an old towel, and rubber or latex glove (optional but you will thank me).

Polished Stone Technique Video Tutorial:

❓❓❓ If you have been stamping for a long time, do you remember this technique? What are your thoughts on creating it with ink pads rather than ink refills? Which method do you prefer? Share your thoughts!
What are Some Popular Color Combinations?
There is an endless array of color combinations you can create with the polished stone technique. Practice on scratch paper or junk mail to see what you think before trying the technique on different papers.
To start off, try a complimentary combination like blue and orange, purple and yellow, or red and green. You can also mix multiple tones of one color to add even more depth and dimension to your piece. For example, a Blushing Bride with hints of Sweet Sorbet and Melon Mambo will look stunning!
How Long Does It Take for My Project to Dry?
The drying time of a polished stone project depends on the thickness and type of paper that you use. Thinner papers, such as Basic White or Very Vanilla paper, will typically dry within 5 minutes. Heavier weight papers, such as shimmery or textured papers, and vellum can take a little longer to dry completely. Be sure to leave plenty of time for your pieces to dry before assembling your project!
What are Some of the Ways I Can Use the Polished Stone Technique?
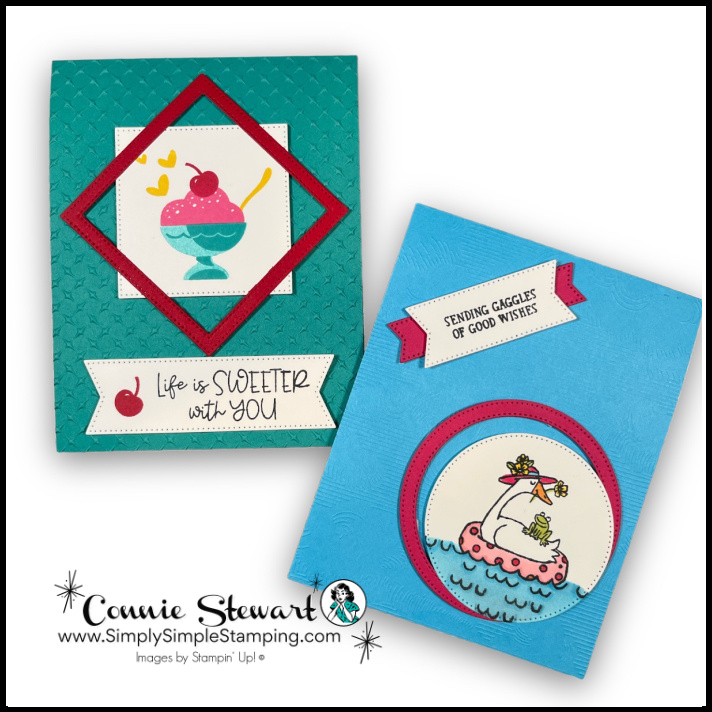
The polished stone technique can be used to add interesting textures and effects to any craft project. You can use it to create beautiful cards, scrapbook pages, tags, holiday decor and more! Have fun creating unique backgrounds for cards and scrapbooking projects or try turning small pieces of paper into fun embellishments like flowers and leaves. You don’t need many supplies to get started – just rubbing alcohol, cotton balls, ink, and paper!

Special Note regarding Free Download:
Because this project focused mainly on the technique, there is no download to go along with today’s video. Free Downloads are not going away, I promise! 😊
Pinterest-ing
Follow me on Pinterest and save today’s polished stone technique to your favorite paper craft boards!
Join Me Thursday, February 16, 2023, for a Create with Connie YouTube Live!
9am Pacific * 10am Mountain * 11am Central * 12pm Eastern
Let’s have some fun creating with Stylish Shapes together! I’m going to teach you some cool ways to offset them for a unique look. Here is what you need if you would like to create along with me:
- Card Base: 4 ¼” x 11″
- Cardstock: 4″ x 5 ¼”
- Basic White: 2 ¾” x 2 ¾”
- 1 ½” x 1 ¼”
- 3 ¾” x 5″

I hope you find some amazing color combinations for this polished stone technique. Remember, you can (and should) always practice those colors on scratch paper first.
Have fun creating my friends!


You have such creative ideas! I love your ideas. Thank you!
Great technique video Connie! Loved how you showed it on all types of paper too.
Your ideas are so inspiring. Thanks for all that you share.