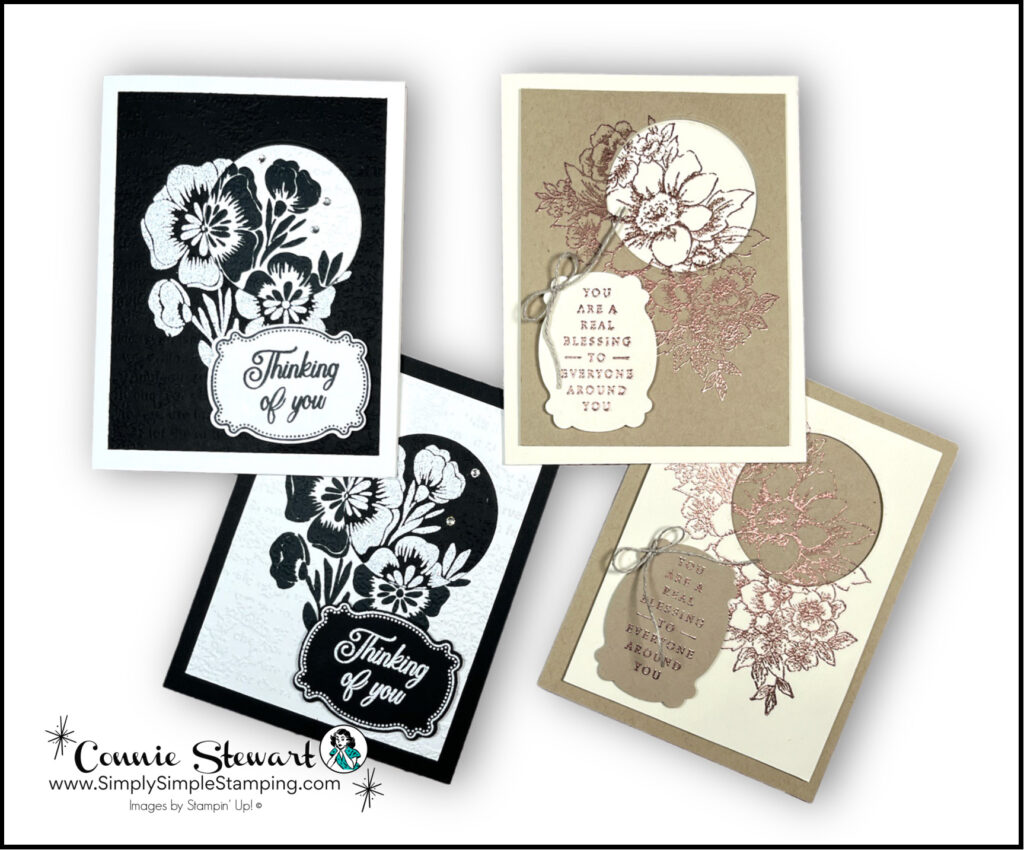
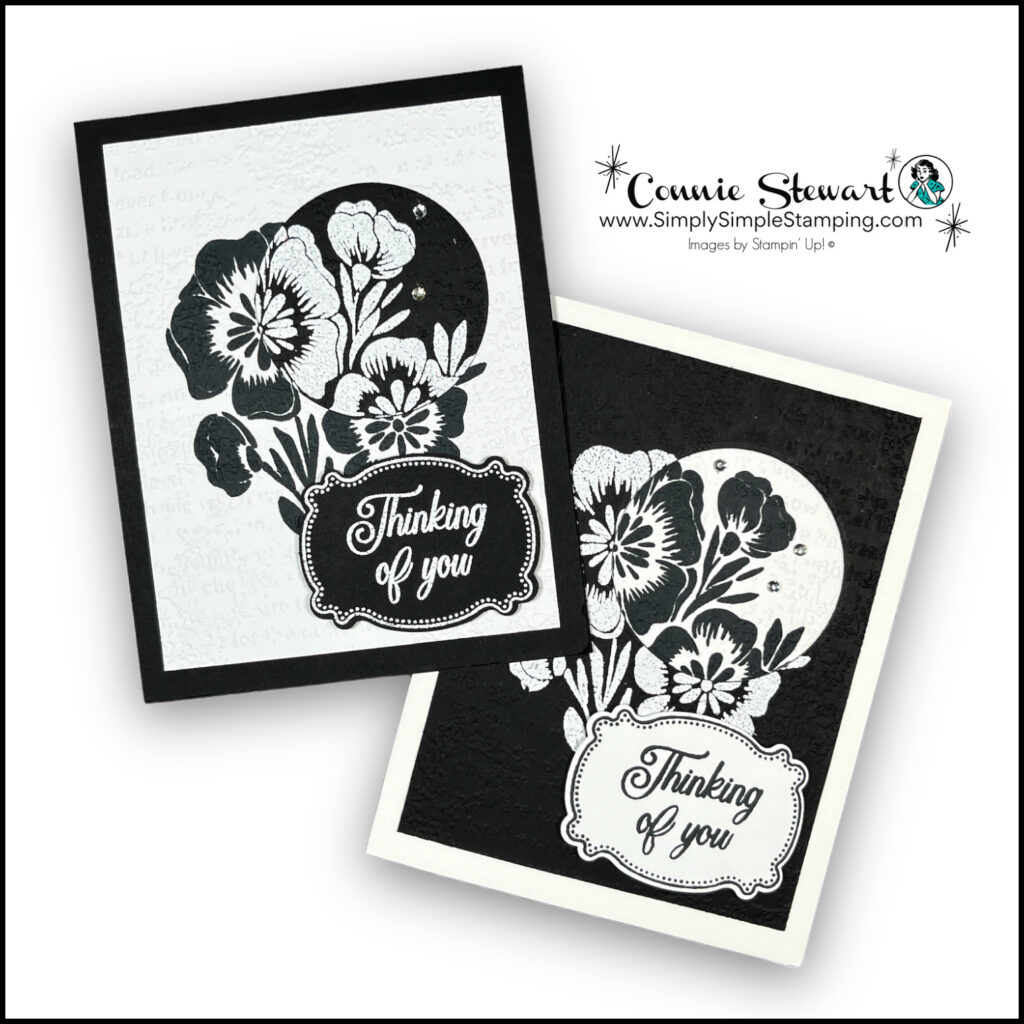
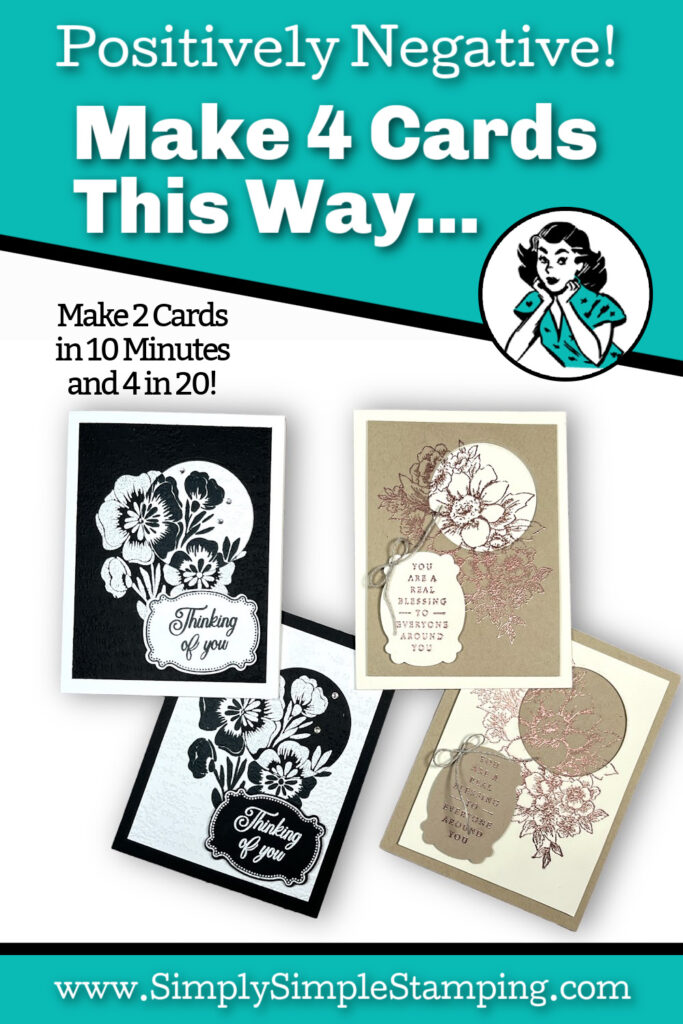
Handmade cards are a great way to spread joy and positivity, and the split negative card technique is an easy and creative way to make beautiful cards in no time.
Follow the steps below and see how sometimes a negative creates a positive–at least in card making!
Split Negative Handmade Card Video Tutorial:
Supplies You Need For Split Negative Card:
To begin, you’ll need to gather a few supplies for your split negative cards. You’ll need….
- Cardstock in 2 colors
- Stamparatus (or another type of stamp positioner)
- Heat Embossing supplies – Heat tool, VersaMark ink, Embossing powder, Embossing Additions Tool Kit
- Circle dies (I used Layering Circles but Stylish Shapes would also work)

📌 Have you ever created a split negative card? I hope you give it a go. Just find those big stamps and create!
Make A Label For Your Greeting
Use dies or a craft punch to cut out a label; you’ll use this to stamp your greeting. If you prefer this could also be a shaped piece like a circle or square.
Next, stamp your greeting on the label and if you wish to heat emboss it like I did for my card then you’ll want to apply embossing powder as instructed in the next step.
Once your greeting label is complete you might find that popping some dimensionals on the back before placing it on your card will give the greeting some extra depth & definition.
Heat Emboss Your Images
Create an elegant and beautiful look for your split negative cards with heat embossing. First, apply an anti-static powder, like the Embossing Buddy from the Embossing Additions Tool Kit, to your cardstock so that the embossing powder will only stick where you want it to.
Next, using clear Versamark Ink, stamp your image on the cardstock and then apply your embossing powder to the stamped image. Shake off the excess powder. Use a heat tool (I love my Stampin’ Up! heat tool) to melt the powder. As the powder melts you’ll see a raised and shiny design form on the cardstock. Voila!
I’ve got a great post that’s all about heat embossing so be sure and review that post too.
Assemble the Card & Add Embellishments
Once the embossed image has cooled completely, layer both pieces of stamped cardstock together. Lay a circle die cut anywhere you would like on the card and cut both pieces at the same time.
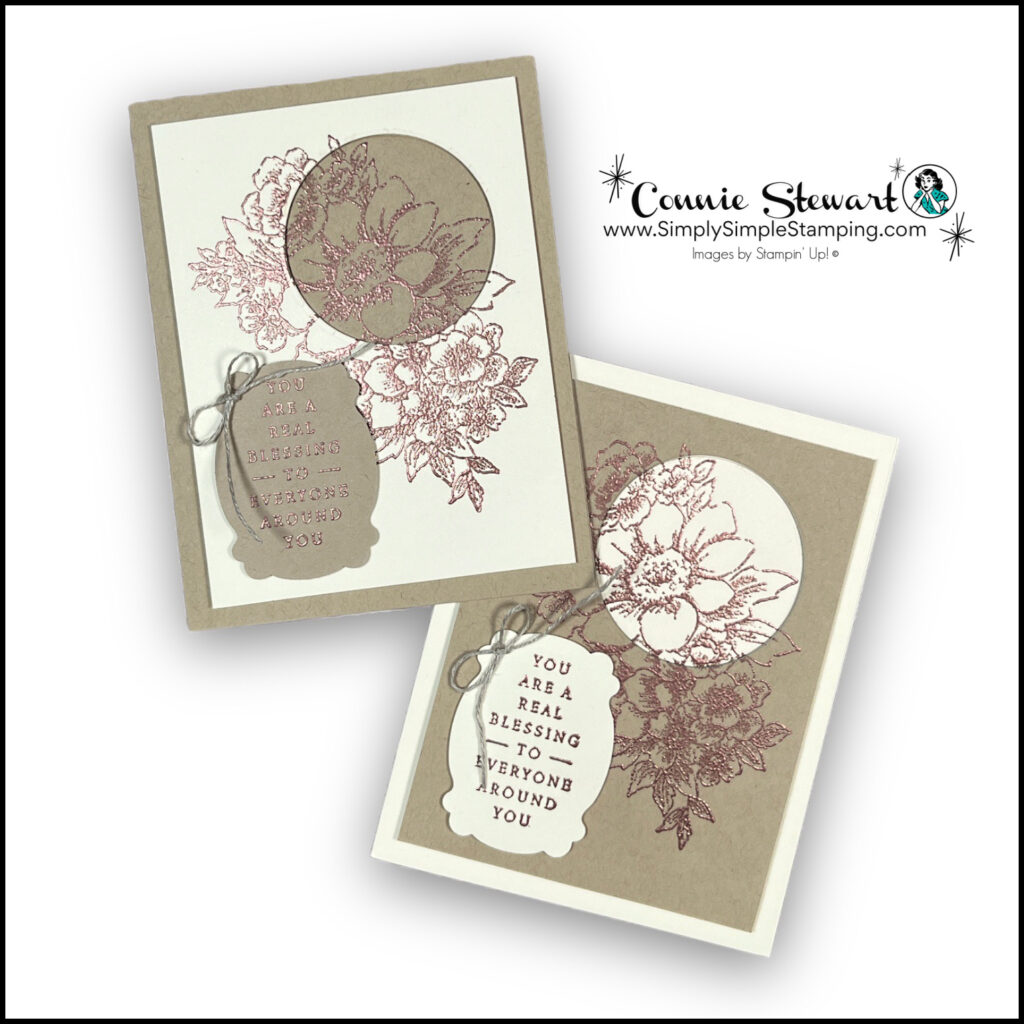
Now it’s time to assemble the card. Start by folding a piece of cardstock in half. Place adhesive on all four corners of the split negative cardstock and attach to the center of the card base. Use the negative from the other card, add adhesive to the back, line it up in the circle opening. Pretty cool, huh? The card is almost finished!
To complete the card, add your sentiment with Stampin’ Dimensionals and top it off with any embellishments of your choice. For example, I used Adhesive-Backed Rhinestone Jewels to my black and white card. I create a simple bow made from twine on the other. After you decorate and write your note you only have to give or mail your handmade split negative greeting cards!
Ready to Create these Split Negative Cards?
I have all the measurements for the split negative cards here but be sure to grab the FREE DOWNLOAD if you would like to save today’s card ideas.
- Basic Black: 5 ½” x 8 ½”, score at 4 ¼”
- 3 ¾” x 5”
- 2 ½” x 4”
- Basic White Thick: 5 ½” x 8 ½”, score at 4 ¼”
- Basic White: (2) 3 ¾” x 5”
- 2 ½” x 4”
- Crumb Cake: 5 ½” x 8 ½”, score at 4 ¼”
- 3 ¾” x 5”
- 2 ½” x 4”
- Very Vanilla Thick: 5 ½” x 8 ½”, score at 4 ¼”
- Very Vanilla: (2) 3 ¾” x 5”
- 2 ½” x 4”
- Linen Thread: (2) small bows
See the full supply list for these cards. You can order here too!
Pinterest-ing
Follow me on Pinterest and save these Split Negative Handmade Cards to your favorite card making boards. Anytime you want to make multiple, unique cards you’ll have this tutorial at your fingertips!
Join Me Thursday, February 23, 2023, for a new YouTube Live!
9am Pacific * 10am Mountain * 11am Central * 12pm Eastern
I hope you can join me. These cards pack a big WOW! I can’t wait to stamp live with you.

I hope you are enjoying my Tuesday Tips & Technique videos this year. There are so many amazing things you can do with stamps, ink, and paper. It is my goal to share lots of these ideas with you throughout the year.
See you on Thursday for my next YouTube Live!