
Happy happy happy Thursday my friends! I got up bright and early this morning to create today’s TEACH ME THAT project and I must say, for only having 3 sips of coffee when I started, it turned out pretty darn cute!


I am calling this a FLOATING IMAGE CARD because as you can see, the image just kind of “floats” in the window.
Are you ready to learn how to do it? It’s SO easy to do and I’m going to show you step-by-step how it’s done. Here we go!

FLOATING IMAGE CARD

HERE ARE THE SUPPLIES YOU NEED:
- 11” x 4 ¼”, score and fold at 5 ½”
- 4″ x 5 ¼” cardstock or Designer Paper
- Stampin’ Trimmer
- Fast Fuse or Tear & Tape

- Begin by trimming off 1 ½” from the card base.

- Trim another 1 ½” from the card base.

- Line up one of the pieces inside the card. Where you place this piece should be determined on where you want your focal image. Do you want it on the left, right or center?

- Place Fast Fuse or Tear & Tape at the top of the strip.

- Fold the top of the card over and press.

- It should look like this.

- Place Fast Fuse or Tear & Tape at the bottom of the strip.

- Line up the remaining 1 ½” strip with the bottom of the card and adhere.

- It should look like this.

- You want the inside to have some contrast. This helps give the illusion the image is floating. You can use cardstock or Designer Series Paper.

Now you’re ready to create a card using the technique. Here are the measurements for my card but get creative with your project.
- Soft Suede – 11” x 4 ¼”, score and fold at 5 ½”
- Coffee Break Designer Series Paper – 4” x 5 ¼”
- Pumpkin Pie – 3″ x 6″
- Very Vanilla – 2 ¼” x 3″
- Old Olive – 1″ x 2 ½”


Want to create my card using this technique? Just click a pic to order!


![]()
Did you see that the Coffee Break Designer Paper is on sale? Yep, Buy 3, Get 1 FREE now through the end of October! There are 13 different papers to choose from. Mix & match for this offer!

CLICK ANY PIC to go directly to my online store to order!


![]()
Now through October 10th! Enjoy 15% off these GREAT stamp sets! Limit time! You could switch out Coffee Cafe for the Merry Cafe stamp set that I used.
PHOTOPOLYMER STAMPS


RED RUBBER CLEAR-MOUNT (also available in wood mount at 15% off)


15% off Note Cards & Envelopes


![]()
 I am so glad you stopped by today! I hope you will give this project a try! I will be sharing a video on how I created my card tomorrow so make a date to come back! See ya then!

Use the OCTOBER HOST CODE EERAKVCP on your order of $30* or more and I have an incredible pdf tutorial along with exclusive video links just for you. The Flash Card Gimme a Kiss video & tutorial collection is 15-pages of instructions, photos, diagrams, tips, tricks, and general awesomeness so that you can create 4 different Flash Card Hershey Kiss boxes PLUS a bonus tutorial for the Hershey Kiss Daisy bouquet!
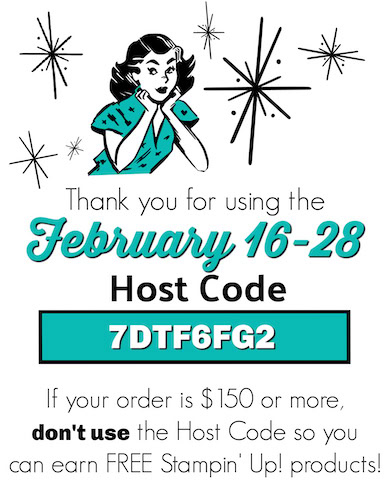
Remember, if your order is over $150.00*, DON’T use the Host Code and earn Stampin’ Rewards (Rewards start at $15) plus you’ll also receive the videos & tutorials! BIG win!!!
*Before Tax & Shipping.
Want to order the FLASH CARD GIMME A KISS TUTORIAL collection? Click here!


Connie, I love this technique to make a fun card. Love your cute card. Thanks for all the pictures and great instructions on how to make this great card. I have made something similar using an acetate sheet but not with the vertical piece as support. This looks easier than using acetate. Thanks for getting up extra early to get this on your blog. Enjoy your day!