The tea bag folding card is a wonderful addition to the fun fold category of card making. It combines an origami element to a card.
It looks super complicated, doesn’t it? Well, surprise! It’s SO easy! 1-2-3 and the fold is done. I am excited to teach you how to create this amazing origami card!
Tea Bag Folding Card Video Tutorial

Once you learn the fold, you can use the image in any way you want. I created a very simple card but the sky is the limit with this fun design! Wouldn’t this make a fun bow on a gift too?


Card Measurements:
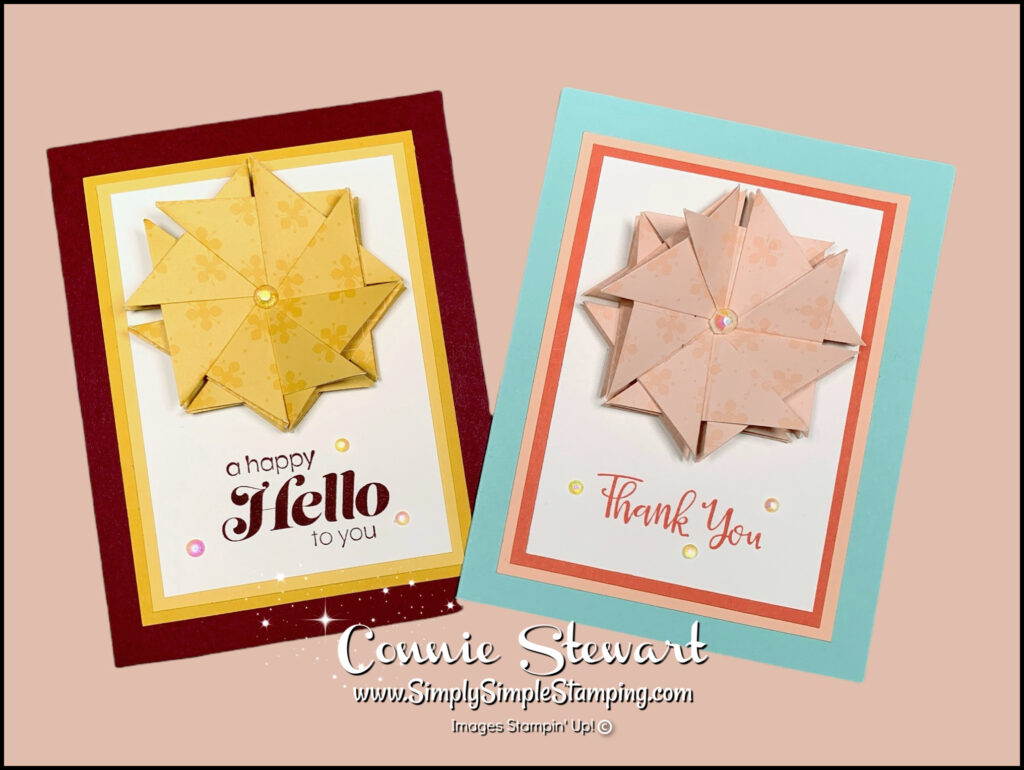
- Designer Series Paper – (8) 2” x 2”
- Merry Merlot or Pool Party- 5 ½” x 8 ½”, score at 4 ¼”
- Bumblebee or Petal Pink – 3 ½” x 4 ¾”
- So Saffron or Calypso Coral – 3 ¼” x 4 ½”
- Basic White – 3” x 4 ¼”


Pinterest-ing!
Follow me on Pinterest and save this to your favorite boards.


I am having so much fun creating origami cards this month. There will be one more for you so be sure to keep coming back!
See you on Thursday, my friends!


Wow! What a cool fold. Can’t wait to try it.
I love the idea of teabag folding, i get how you fold the paper, but i can’t put the folded paper together i tried but they didn’t seem to some out like yours did Connie. Thanks for showing us all the fold
Try this – scroll to the 4:45 mark of the video and pause it as needed. Hopefully that will help.
I have arthritis in my hands and it was difficult to hold all the pieces while putting it together. I put a small glue dot on each piece to hold them as I worked. That worked well. Anyone have any other suggestions for someone who has hand issues? I love the fold! Thanks so much for sharing all your great ideas with us!
I just get it to look like Connies, i git the folds alright but i just couldn’t put it together Joyce. From Victoria Australia.
I had the same problem. I could get them together but they kept sliding out of my hands. After many tries, I finally put a glue dot on each triangle before I put the next one on. That held it together for me.